MyVHCC Authentication Instructions
Notice: On Friday, July 26th, all faculty, staff, and students will be required to re-configure two factor authentication. Depending on the type of two-factor authentication currently being used, the instructions may vary slightly. For users that use text or email, there should not be any changes, other than “claiming your account” and setting a new password. Passwords requirements must be at least 14 characters and contain 3 of the 4 options of upper case, lower case, number, or symbol.
This is a two-step process. Users must first “claim your account” and then setup the two-factor authentication.
If assistance is needed, contact the IT Help Desk at 242500 or 1-276-739-2500
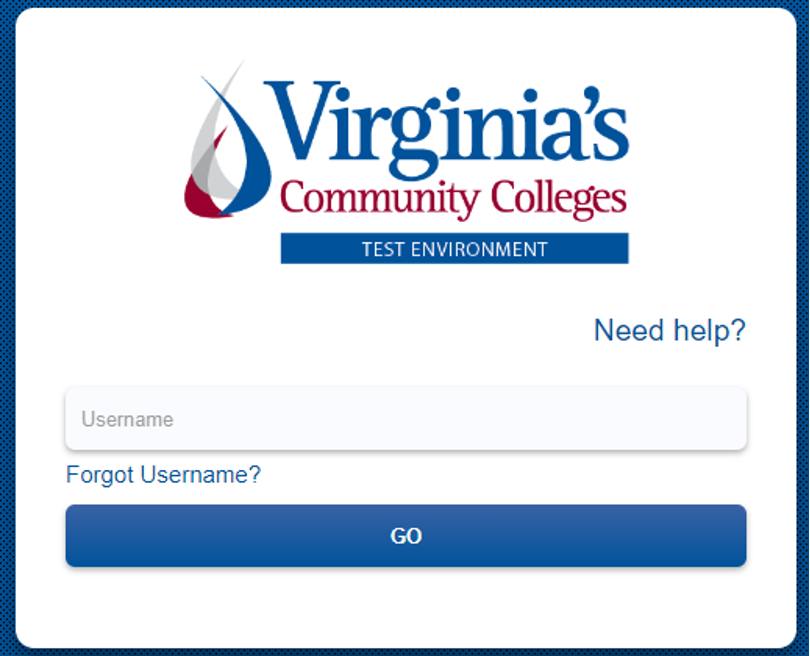
- Enter your myVHCC username and select “Go”.
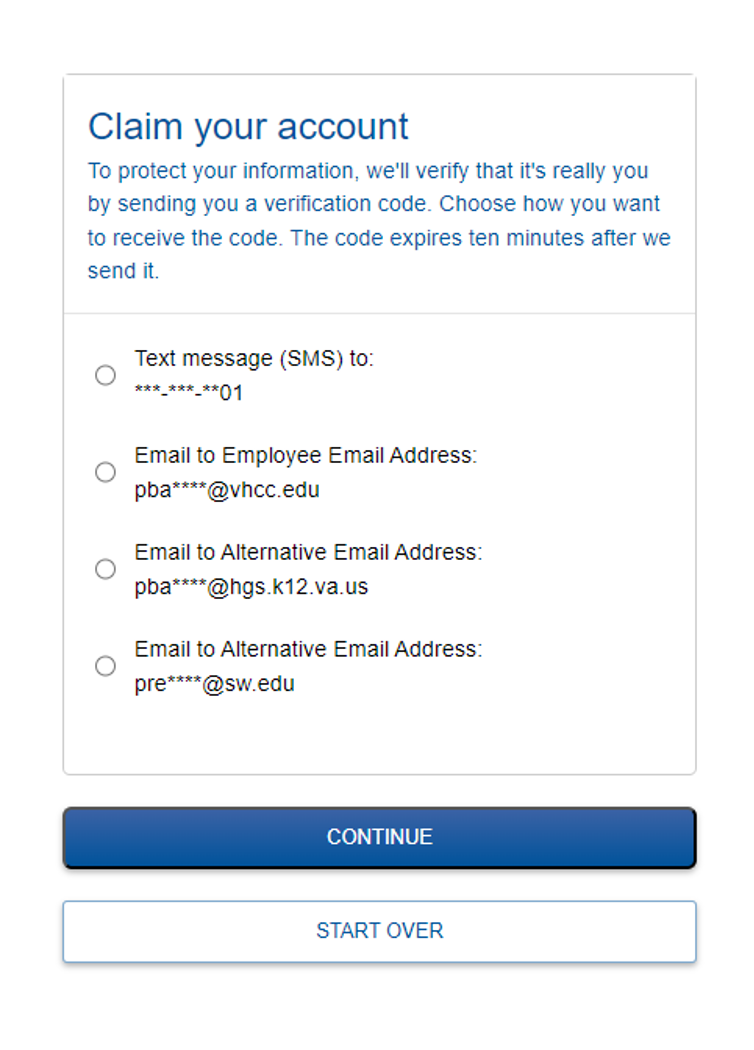
- The “Claim Your Account” screen should be displayed. Select the method to verify your account and select “Continue”.
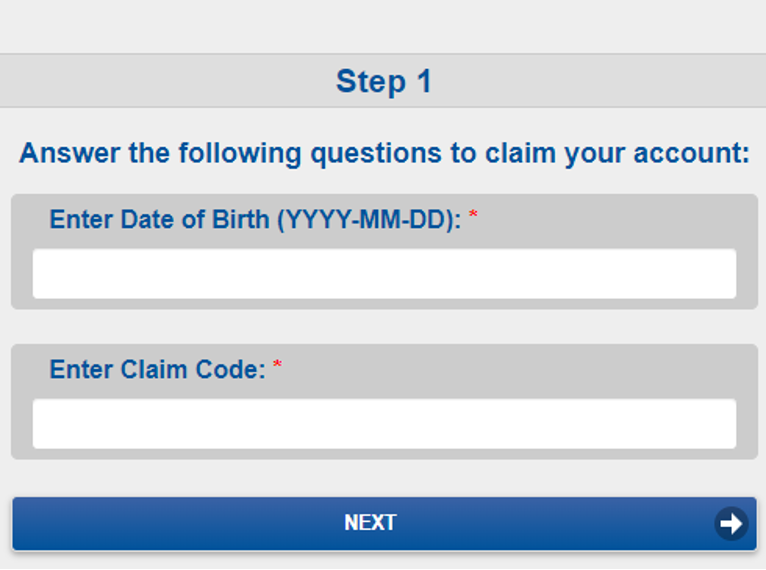
- Enter the requested data. You should receive a code via the method selected in the previous step.
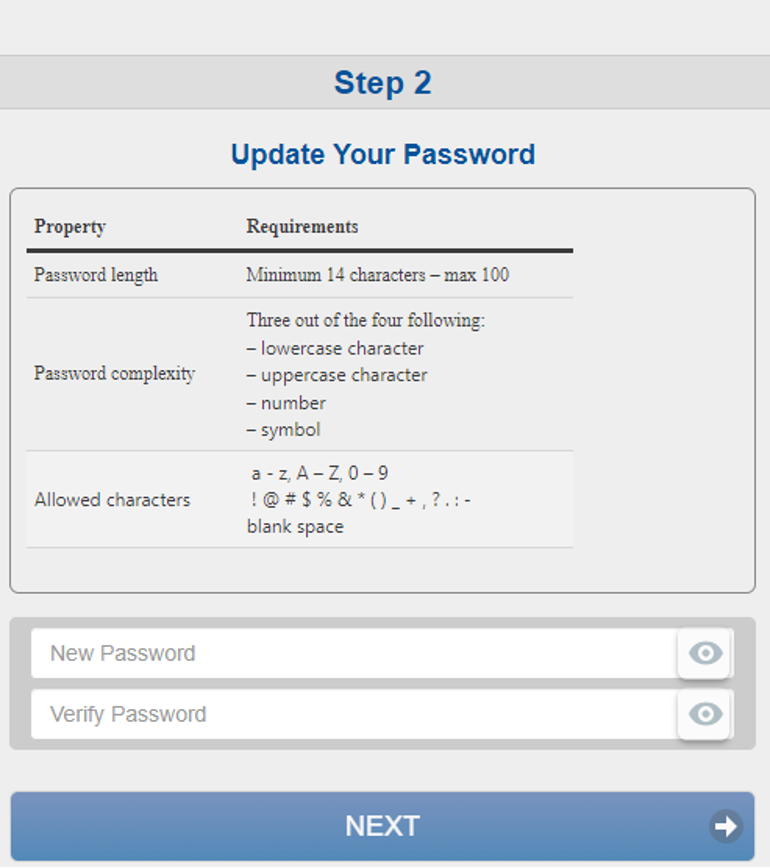
- Update your password. Note the password requirements. Once a new password has been entered and verified, select “Next”.
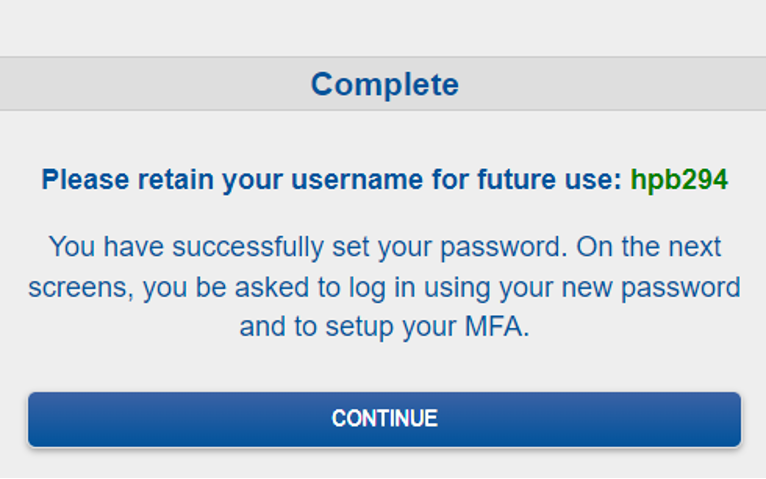
- Select “Continue” to acknowledge your username.
- Enter your password select in the previous step.

Setting up two-factor authentication – Rapid Identity and Microsoft Authenticator
This process requires both your cell phone and computer. Please note which device to use for each step below.
When logging into MyVHCC the first time you will be prompted to enter your userid and password. If you do not know your password, select the forgot password section to reset your password. Once your password has been changed, follow the instructions below.
Rapid Identity
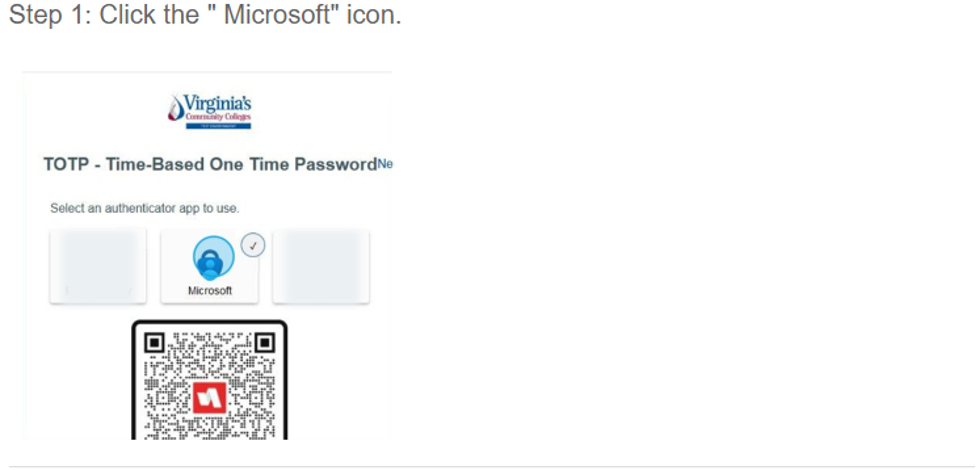
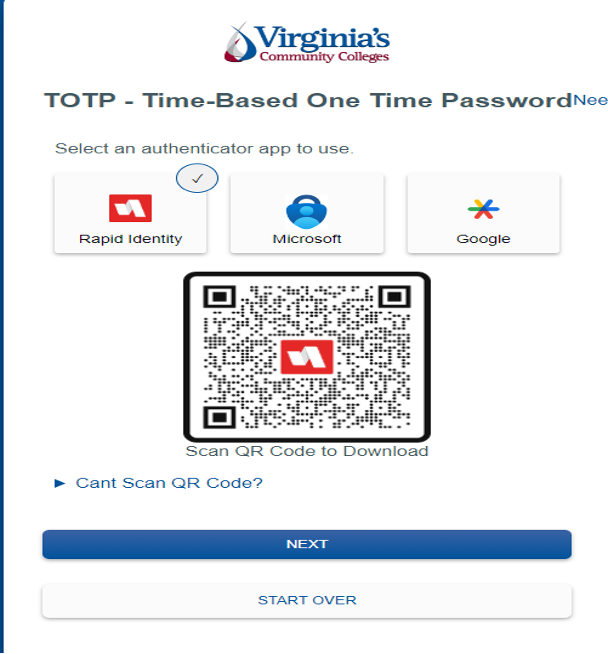
- Select the authentication tool to use for two-factor authentication. Historically, the VCCS and VHCC has used Rapid Identity for two-factor authentication. You may now choose from the options below. It is highly recommended to use Rapid Identity or Microsoft Authenticator. Instructions for both are below so sure to follow the correct one. Rapid Identity is the default option. Click on the app you would like to use and select Next. Note: You do not have to click on the section that reads “Scan QR Code to download” unless you need to install the app. Users should already have these installed.
- On your cell phone, open the Rapid Identity app. If you already have an account, press and hold the account and then select delete. When prompted to confirm, confirm to delete the account. Leave your cell phone on the screen it is on. You will need it in the next step.
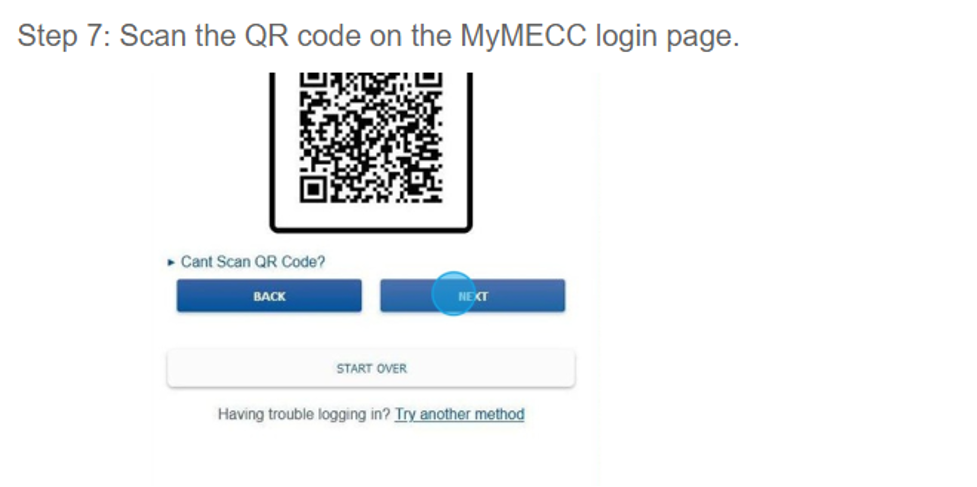
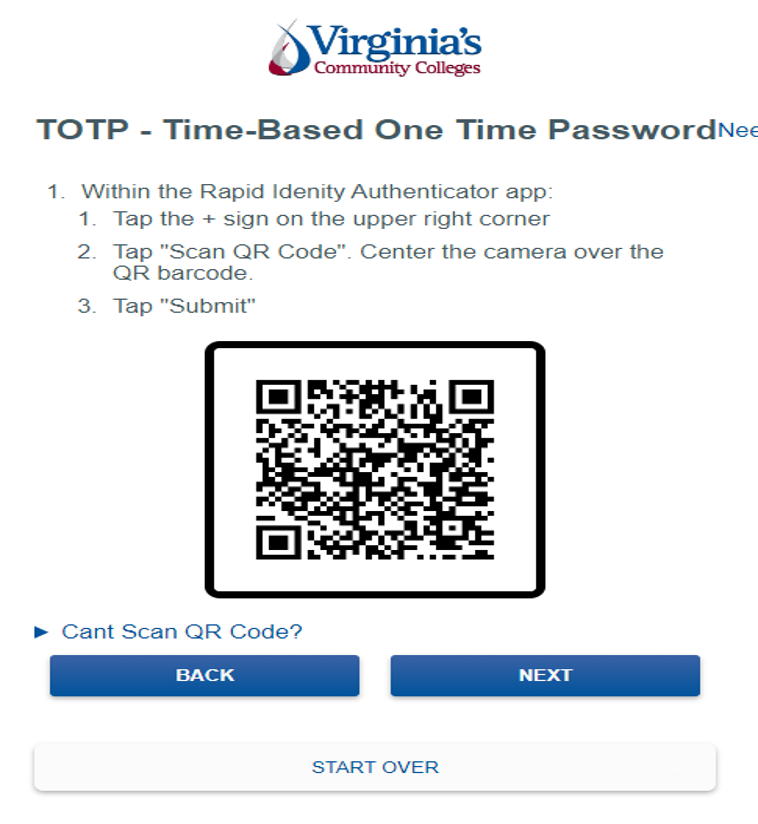
- On your computer, click the “scan QR code”. A QR code will be displayed. On your cell phone there should be an option to scan QR code. Click the Scan QR Code option and use the camera on your cell phone to scan the QR code displayed on your computer screen. Do not scan the QR code in this example.
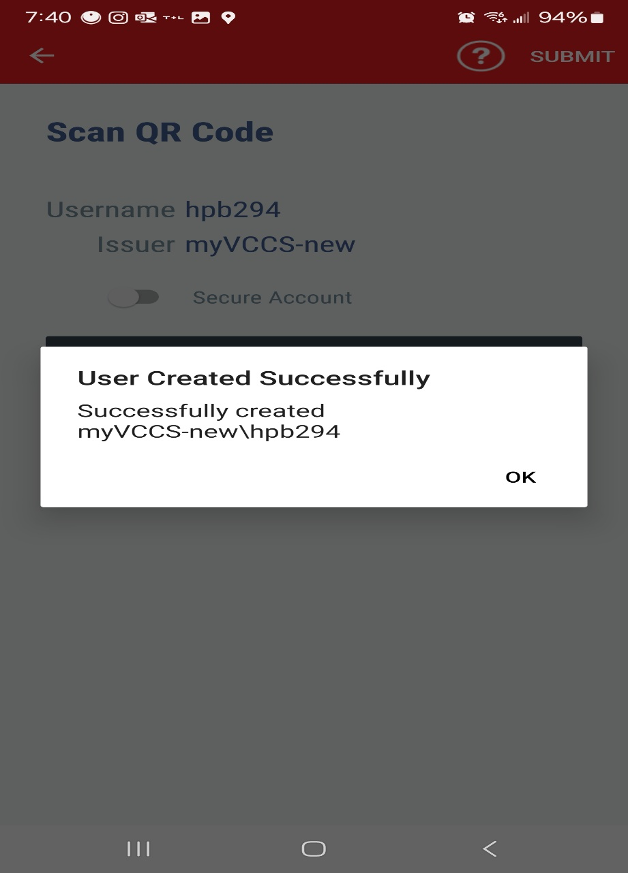
- After scanning the QR code, click the submit button on your cell phone. You should see a message like the one below stating the user was created successfully. Select OK.
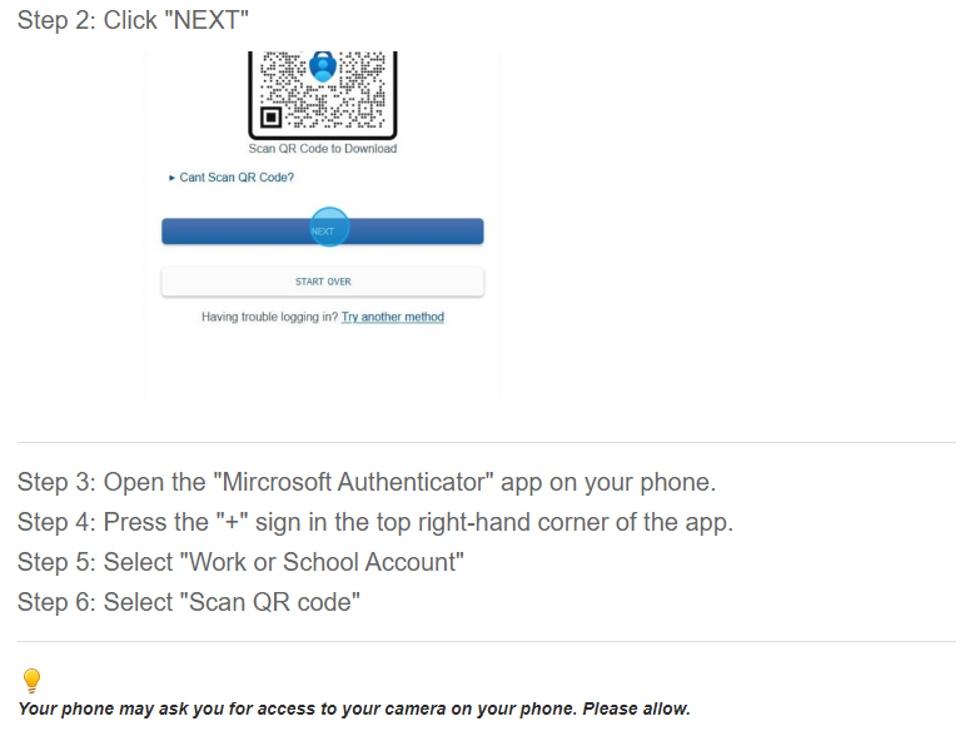
- Click Next on your computer screen.
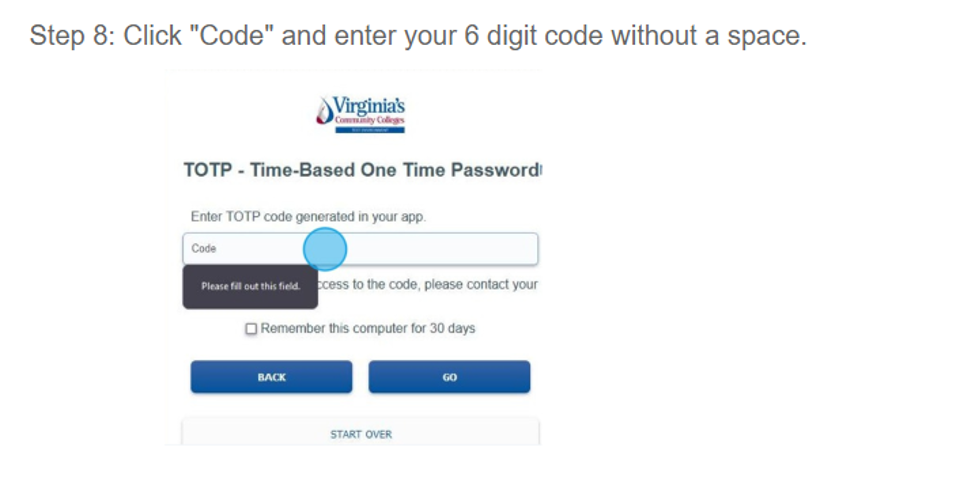
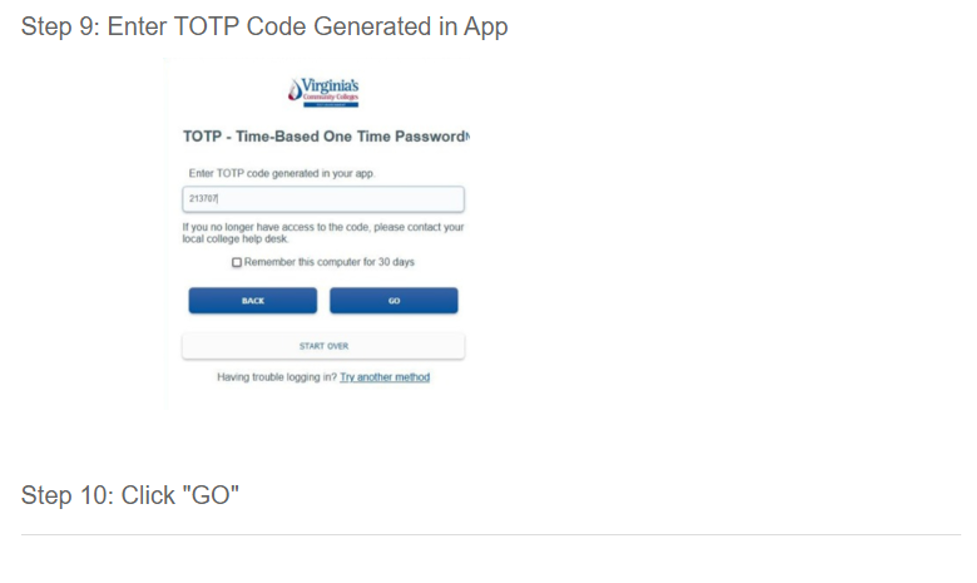
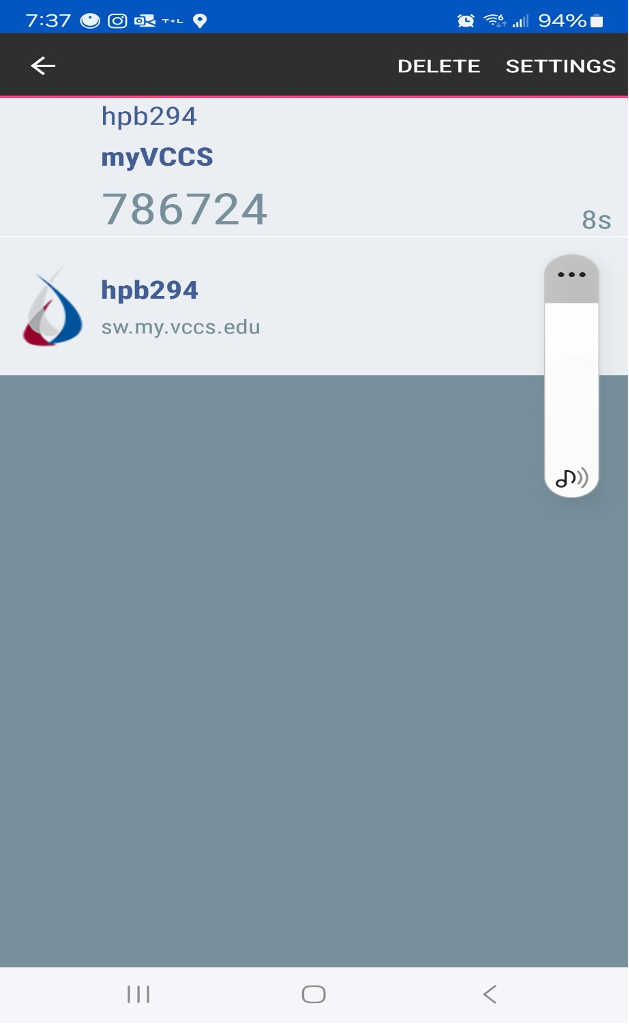
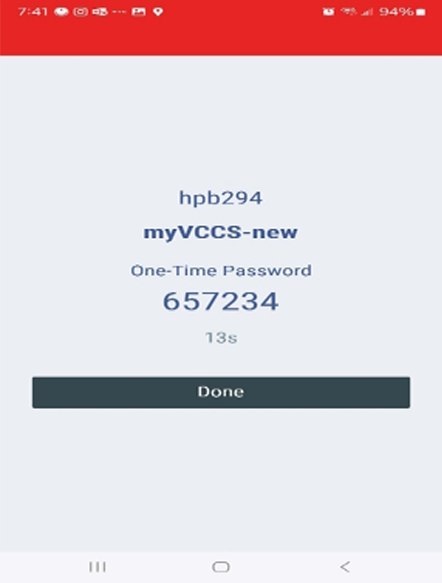
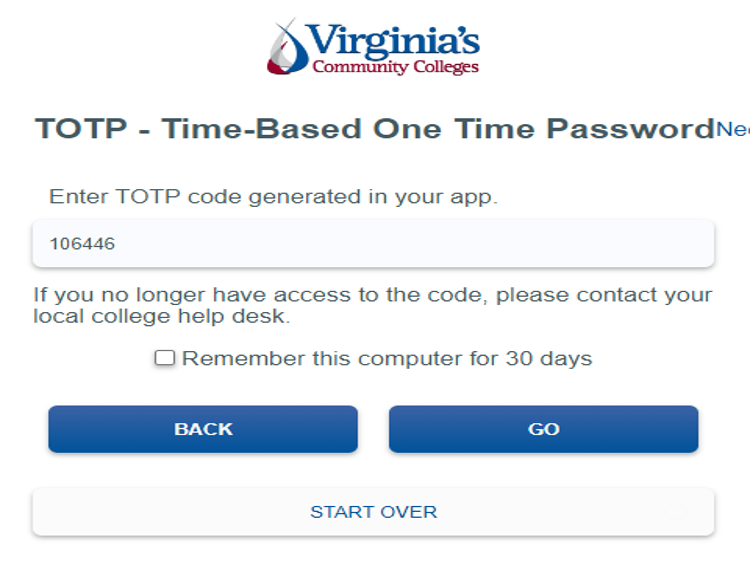
- Enter the one time code that is displayed on your cell phone into the field below on your computer. Note that there is a timer. If the timer only has a few seconds remaining, wait until a new code is displayed. Once the code is entered, select Go.
Microsoft Authenticator Instructions
Note: This portion of instructions was copied from MECC as they have already been converted and use Microsoft Authenticator instead of Rapid Identity. The steps are basically the same. If you see anything in the screen shots below that refer to myMECC or MECC just know it does not matter for the instructions.